
Covid Management
Category:
Covid Management
It’s really easy to let your crew know about their next Covid testing session. Let’s go through it step by step.
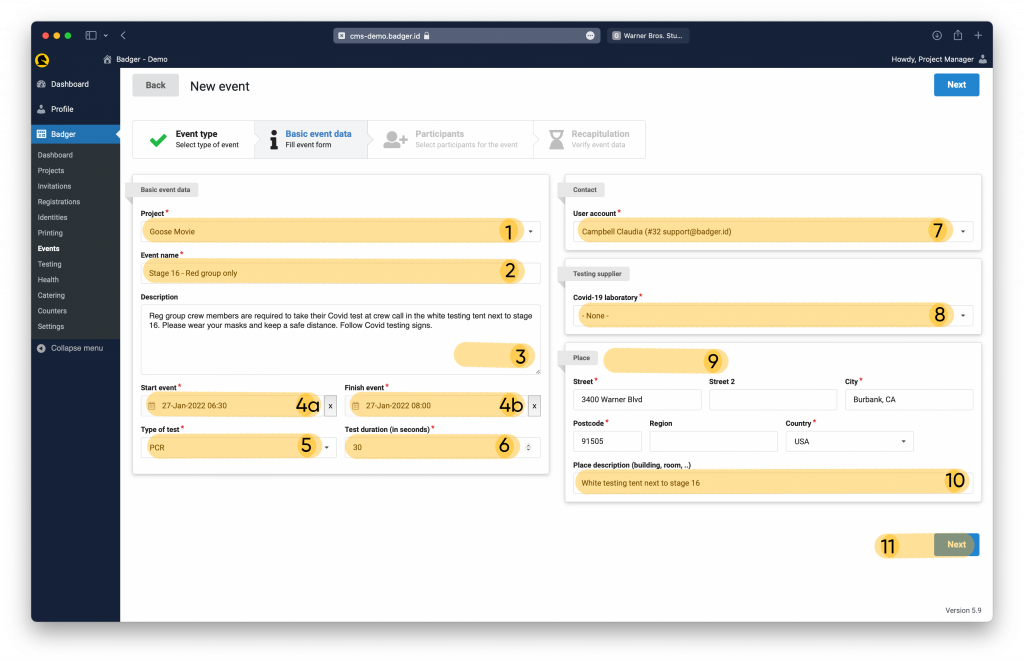
(1) Make sure you’ve selected the right project in case you use Badger on more projects under the same production.
(2) Name your event. For example Stage 16 – Red zone testing only.
(3) Here you can write custom instructions your crew will receive in the app reminder and in their emails.
(4) Specify the start and finish of your testing event.
(5) Choose between PCR or Antigen test type.
(6) Choose the testing time interval in seconds. This is how quickly your swabbers can go. The administrative agenda (scanning badge QR code and printing a vial label) takes about 10 seconds per user with Badger.
(7) Choose the contact person on-site.
(8) Choose your lab service provider
(9) Specify the address where testing will take place.
(10) Add an additional note to the address. For example door #, floor, W3W link, etc.
(11) Once done, click Next.

(1) Select one or more users by looking up their name or email.
(2) Add whole departments.
(3) Add people by their zone/pod/group assignment.
(4) Add people by copying and pasting a list of emails
(5) Drag and drop users to change their order
(6) See for what time a user is being invited
(7) See the name, department, position and email of the invited individual
(8) See the person’s last Covid test date
(9) Click Next.

Category:
Covid Management
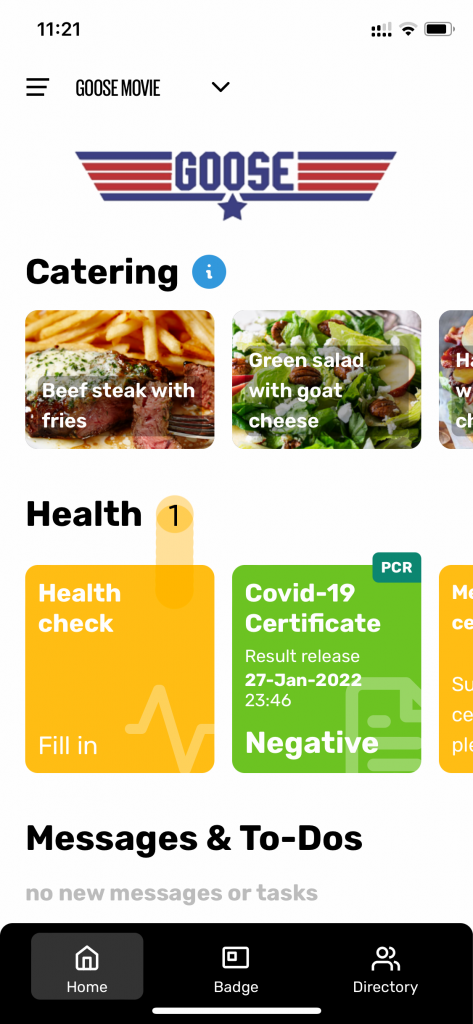
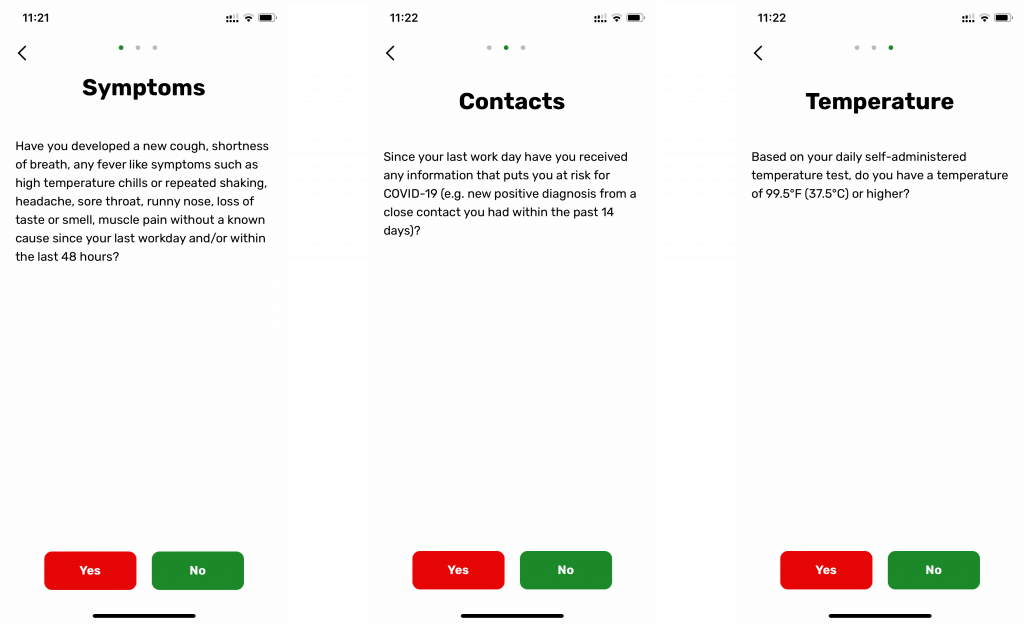
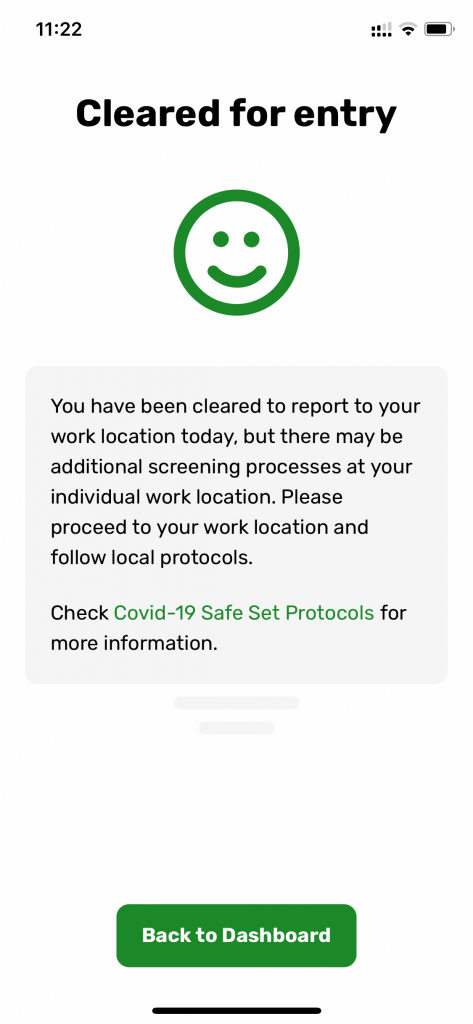
Filling out your Daily Health Check is easy and quick
Covid Management
Category:
Covid Management
It’s really easy to let your crew know about their next Covid testing session. Let’s go through it step by step.
(1) Make sure you’ve selected the right project in case you use Badger on more projects under the same production.
(2) Name your event. For example Stage 16 – Red zone testing only.
(3) Here you can write custom instructions your crew will receive in the app reminder and in their emails.
(4) Specify the start and finish of your testing event.
(5) Choose between PCR or Antigen test type.
(6) Choose the testing time interval in seconds. This is how quickly your swabbers can go. The administrative agenda (scanning badge QR code and printing a vial label) takes about 10 seconds per user with Badger.
(7) Choose the contact person on-site.
(8) Choose your lab service provider
(9) Specify the address where testing will take place.
(10) Add an additional note to the address. For example door #, floor, W3W link, etc.
(11) Once done, click Next.
(1) Select one or more users by looking up their name or email.
(2) Add whole departments.
(3) Add people by their zone/pod/group assignment.
(4) Add people by copying and pasting a list of emails
(5) Drag and drop users to change their order
(6) See for what time a user is being invited
(7) See the name, department, position and email of the invited individual
(8) See the person’s last Covid test date
(9) Click Next.
Category:
Covid Management
Filling out your Daily Health Check is easy and quick